

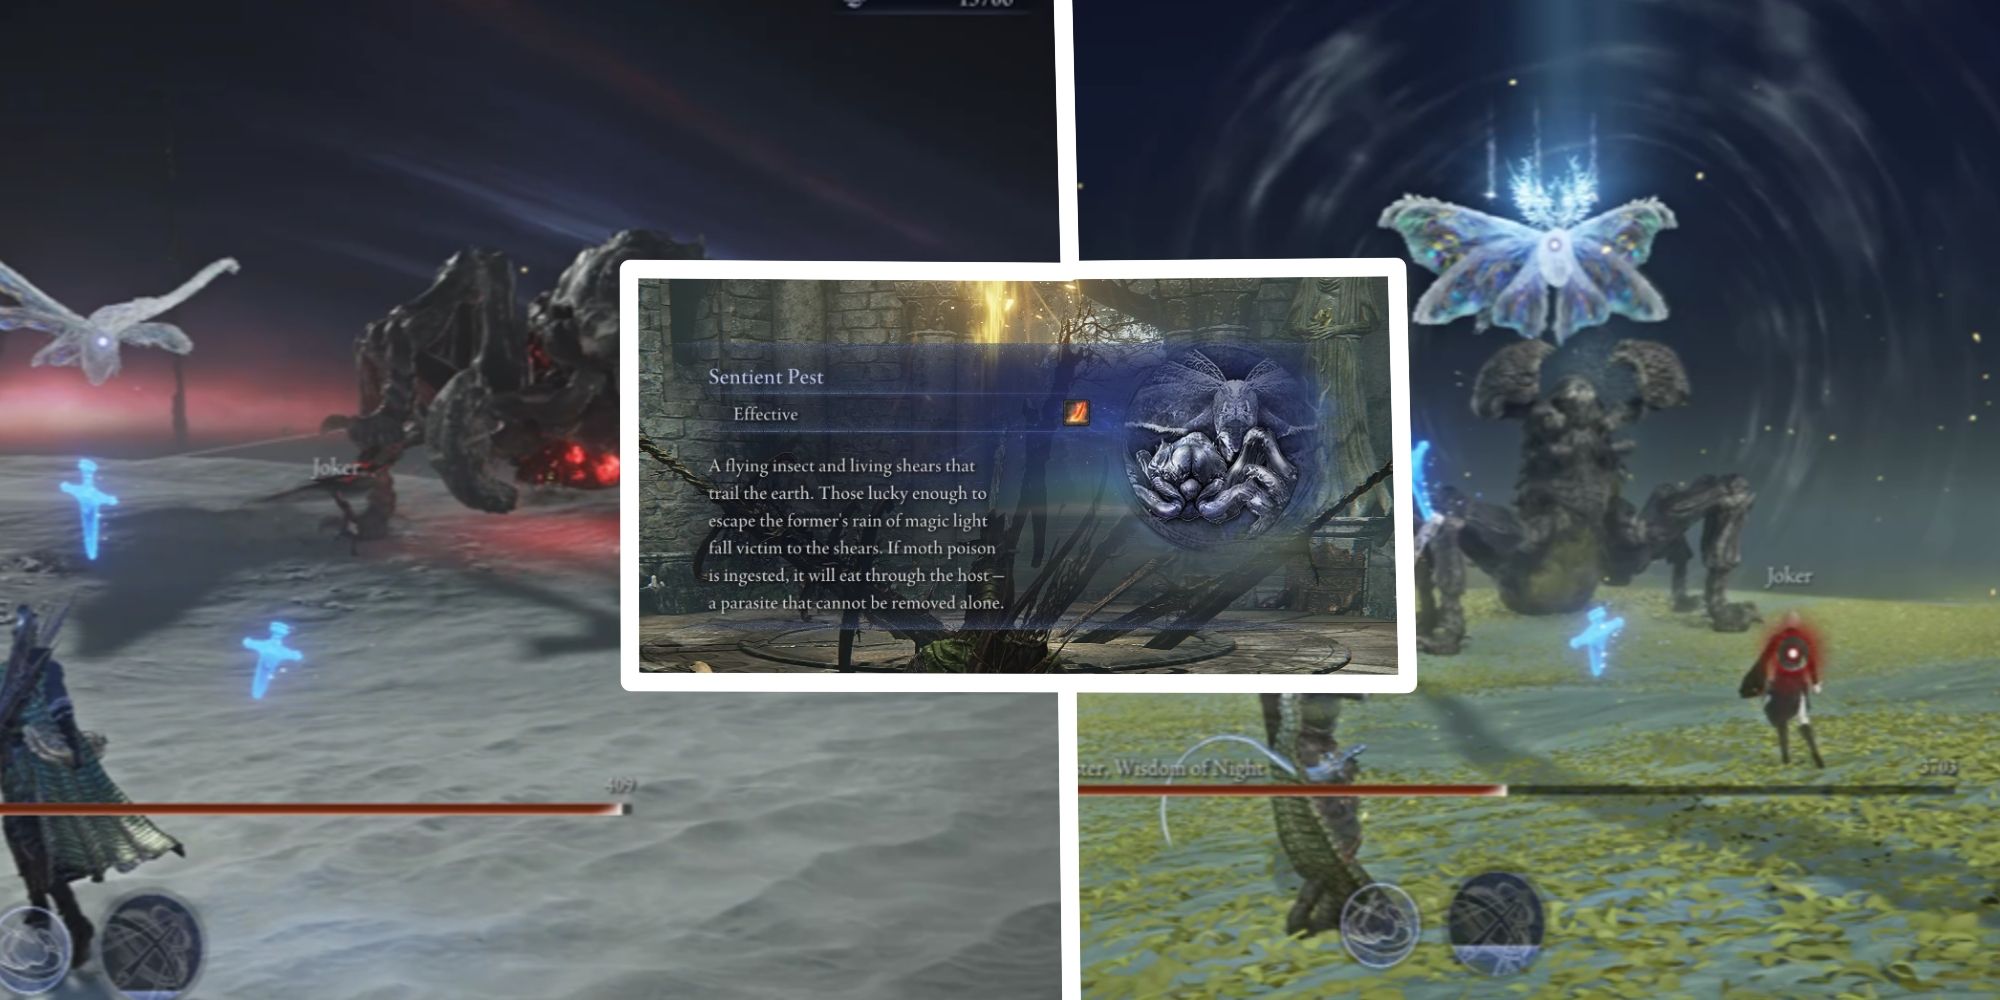
Elden Ring Nightreign has a lot of Nightlords for you to slay, but Gnoster is certainly one of the more annoying. This Nightlord is actually two separate bosses who operate independently of each other.
Related
Elden Ring Nightreign: Wylder Remembrance Quest Guide
For anyone looking to complete the Wylder’s Rememberance Quest, this guide is a must!
This can make this boss fight incredibly aggravating as you’ll need to keep track of both entities to stay alive. You’ll get some good damage opportunities in between times when you’ll be running for your life.
There are some ways to make this fight a bit easier, and we’ll be covering them in this guide, along with a breakdown of their attacks and weaknesses.
Time to call the exterminator.
Recommended Team Composition
Since Gnoster is a coupling of two different bosses, your best bet at finding success will be to have a party consisting of at least two melee characters and one ranged character. Personally, I recommend getting something like Wylder, Executor, and Ironeye.
I did manage to beat Gnoster with two Ironeyes and a Duchess. Individual player skill can make up for the difference in party composition, although it will still be easier with a proper party configuration.
You always want at least one of the melee fighters acting as a tank against the Scorpion boss, and your ranged fighter should try to handle the Moth. You want to try to keep them occupied simultaneously, so you aren’t being hit by both of their attacks in tandem.
- Wylder – Get near the Scorpion’s legs to deal damage and avoid its front-facing AOE attacks. From here, you’ll want to dodge into its legs typically, since dodging away gets you caught in the AOE.
- Executor – Similar to Wylder, but your focus is on dealing damage. Don’t over-commit because once you’re down, it’s difficult to revive people here since the boss takes up so much space.
- Ironeye – You’ll focus on damaging the Moth with fire damage. It can be set aflame, so you’ll be able to do continuous damage. You should also be on the lookout to revive your teammates.
You can maintain focus on the individual bosses even when they join together, so you’re able to keep your plans for damage.

Related
Elden Ring Nightreign: How To Play Recluse
Here are the best weapons, relics, team comp, and strategies that you should use to play Recluse in Elden Ring Nightreign.
Weaknesses and Preparation

Gnoster is weak to fire damage; the Moth, in particular, can be set on fire, doing damage over time. This will make it significantly easier to lower Gnoster’s health while dodging the onslaught of attacks.
Try to find locations marked with the fire icon to gather fire weapons during your run leading up to the Nightlord. The Scorpion cannot be set on fire, but is still weak to fire damage.
If you’re struggling to gather fire weapons, you can always use Fire Grease to give your weapon fire damage, but it won’t last incredibly long. While you don’t need fire damage to take down Gnoster, you’ll absolutely want some  Neutralizing Boluses to alleviate the poison buildup from Gnoster’s attacks.
Try bolstering your HP when you can. If you are poisoned, you’ll have plenty of time to heal or get rid of the poison before it kills you.

Related
Elden Ring Nightreign: 10 Best Nightfarer Outfits
There are plenty of skins to choose from in Elden Ring Nightreign, but which ones capture the spirit of the Soulslike genre?
How to Beat Gnoster, Wisdom of Night

Gnoster is difficult for a few reasons. The Moth will constantly spew out gas that quickly poisons and damages you, while the Scorpion will attack with swift, powerful attacks.
They both have AOE attacks baked into their patterns, so you’re not only trying to avoid the attack, but the AOE afterward as well. If you’re one of the melee characters here, you’ll need to dodge into the Scorpion’s attacks to avoid those AOEs.
| Attack | Description | Status Effect |
|---|---|---|
| The Scorpion | ||
| Pincer Attack | The Scorpion brings its pincers together and slams them down. | N/A |
| Stomp Attack | The Scorpion stomps its feet on either side, creating an AOE of spikes on that side. | N/A |
| Pincer Slam | The Scorpion rears back on its hind legs, then slams into the ground, creating a spike field. | N/A |
| Shout | The Scorpion shouts, damaging nearby players over a short time. | N/A |
| Harden | The Scorpion curls into a ball and remains still, increasing its defense and making attacks do less damage or bounce off entirely. | N/A |
| The Moth | ||
| Light Bolt | Summons six small bolts that target a player. The first four move in tandem while the last two have a delay. | N/A |
| Poison Mist | The Moth creates three lines of poison mist that jut out in a cone from its body. | Poison |
| Rain of Light | The Moth creates a mist of sparkles in the air, then summons magic beams that bounce around before shooting down to the ground, advancing outward from the point of origin. | N/A |
| Lunge | The Moth will charge a player while its legs glow blue. It will grab a player and do significant damage. | N/A |
| Gnoster (Unified) | ||
| Charging Attack | Gnoster will clamp its pincers together and charge forward while summoning beams of light from the sky. | N/A |
| Bullet Smash | Gnoster will fire its six shots quickly, then dive at the target, causing damage on contact, followed by an AOE. | N/A |
The Moth will summon up some small balls of light that surround it. They dissipate when it uses attacks, and once it’s out, you’ll have a few moments to breathe before it starts again.
Phase 1

It is incredibly important to keep these bosses separate from one another while fighting in this phase. If you’re being targeted by both, it is unlikely you’ll be able to escape any attacks.
Try fighting them in separate areas of the arena and move away from your teammates, so there isn’t a chance for them to draw aggro. If you have multiple ranged attackers, you can have two focus on the Moth since it is a bit easier to get damage on the Moth with less risk of getting hit by some dangerous attacks.
The Scorpion will hit fairly hard, but try to use as little healing as possible since the next phase will encompass both bosses’ attacks in unison. Reviving is easier at this stage, so if anything, try to go down in a spot where you can be easily revived.
Once you get about a third of their health down, they’ll both begin moving toward each other, which gives you an opportunity to get in some damage. Once they merge, try to back out as Gnoster will typically use their shouting attack just after joining.
Phase 2

This is where things get real. You’ll basically constantly be under fire from one set of attacks or the other, with an incredibly limited amount of time to recover.
Take things slow and steady and focus on survival. If someone goes down, try leading Gnoster away from them before reviving them.
If you’re using ranged attacks, focus on the Moth while melee should focus on the Scorpion. You can still do fire damage to the Moth, so if you can focus on that to get some damage over time.
Once beams of light appear near you, run until the beam finally comes down. This does a lot of damage but moves slowly and occupies the Moth, giving you a moment to strike.
Gnoster is a difficult boss who requires luck more than skill most of the time. If you get a map with plenty of fire weapons, you will have an easier time. If you can build poison resistance or raise your defense, you’ll still stand a decent chance.
Annoying and aggravating, Gnoster will likely take more than a few tries. If you manage to succeed, you’ll be rewarded with the Night of the Wise relic, which is great for magic users. Now, you’re one step closer to defeating all of the Nightlords.

Related
10 Dark Souls Bosses We Want In Elden Ring Nightreign
FromSoftware added some great fights from previous Souls games to Elden Ring Nightreign, but there are some major fights still missing.

Elden Ring Nightreign
- Released
-
May 30, 2025
- Multiplayer
-
Online Co-Op
- Number of Players
-
1-3
- Steam Deck Compatibility
-
Unknown
- PC Release Date
-
May 30, 2025
- Xbox Series X|S Release Date
-
May 30, 2025

